- Login to portal
- You can see products on overview page. Find Webroot and click “Create a new tenant” link.


- Fill the required fields. Note that you need to provide correct address.
- Press “Save Changes”.
- You will be navigated to Webroot -> Manage page and your new Webroot Tenant should be listed in Manage page. (Please note step 6 & 7 below)
- Wait up to 15 minutes and Webroot will send you an email with instructions and temporary password. Open the email. Finalize the Tenant creation using the instructions in the email.
- At this time your Webroot Tenant is created.
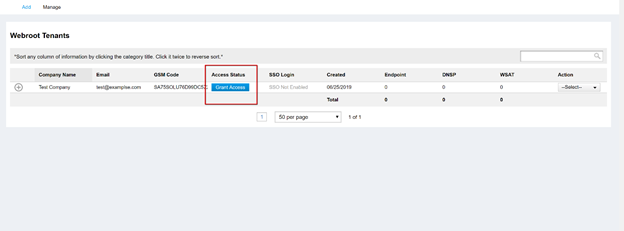
Grant Access to Portal
- Go back to Portal Manage page, find your newly created tenant and click on “Grant Access” button.
- Input your Webroot password and press “Grant Access”.

- Congratulation, now you can use SSO Login functionality and list your Webroot sites expanding the row.
Note: if you change your Webroot tenant password, you will need to Grant Access again otherwise the SSO Login functionality and “List Sites” functionality
Comments
Article is closed for comments.