This article will help you how to manage direct storage.
With new Direct Storage you can now add your own cloud storage to the portal. Please follow below steps to add your direct storage to Portal.
1. Login to Portal via https://securesitecontrol.com.
2. Go to Cloudberry Unlimited section.
3. You can see new menu called "Storage"
4. You can see various supported storage we are offering.
We are offering AWS S3 , BlackBlaze , Google Cloud Storage , Microsoft Azure , Wasabi , S3 Compatible.
5. You can add N number of storage as per your need. Please follow below guide to setup your direct storage.
AWS S3
To access AWS, you will need to sign up for an AWS account.
Access keys consist of an access key ID and secret access key, which are used to sign programmatic requests that you make to AWS. If you don't have access keys, you can create them by using the IAM console at https://console.aws.amazon.com/iam/
. We recommend that you use IAM access keys instead of AWS root account access keys. IAM lets you securely control access to AWS services and resources in your AWS account.
Note
To create access keys, you must have permissions to perform the required IAM actions. For more information, see Granting IAM User Permission to Manage Password Policy and Credentials in the IAM User Guide.
To get your access key ID and secret access key
- Open the IAM console at https://console.aws.amazon.com/iam/
-
On the navigation menu, choose Users.
-
Choose your IAM user name (not the check box).
-
Open the Security credentials tab, and then choose Create access key.
-
To see the new access key, choose Show. Your credentials resemble the following:
-
Access key ID:
AKIAIOSFODNN7EXAMPLE -
Secret access key:
wJalrXUtnFEMI/K7MDENG/bPxRfiCYEXAMPLEKEY
-
-
To download the key pair, choose Download .csv file. Store the .csv file with keys in a secure location.
Blackblaze Storage
Create and Manage App Keys
You must generate a master application key (master app key) for your account. The master app key provides complete access to your account. Your master app key becomes invalid if you generate a new one.
After you generate a master app key, you can create an application key (app key). For more information, see Application Keys.
Generate a Master App Key
- Sign in to your Backblaze account.
- In the left navigation menu under Account, click Application Keys.
- In the Master Application Key section, click Generate New Master Application Key.
- Click Yes! Generate Master Key.
Create an App Key
Application keys control access to your Backblaze B2 Cloud Storage account and the buckets that are contained in your account.
- Sign in to your Backblaze account.
- In the left navigation menu under Account, click Application Keys.
- Click Add a New Application Key, and enter an app key name.
You cannot search an app key by this name; therefore, app key names are not required to be globally unique. - In the Allow Access to Bucket(s) dropdown menu, select All or a specific bucket.
- Select your access type (for example, Read and Write).
- Select the optional Allow List All Bucket Names checkbox (required for the Backblaze B2 S3-compatible API List Buckets operation).
- Click Create New Key, and note the resulting keyID and applicationKey values.
Setup Google Cloud Storage
Create service accounts
This page explains how to create service accounts using the Identity and Access Management (IAM) API, the Google Cloud console, and the gcloud command- line tool.
By default, each project can have up to 100 service accounts that control access to your resources. You can request a quota increase if necessary. Learn more about quotas and limits.
Before you begin
-
Enable the IAM API.
-
Understand IAM service accounts
Required roles
To get the permissions that you need to create service accounts, ask your administrator to grant you the Create Service Accounts (roles/iam.serviceAccountCreator) IAM role on the project. For more information about granting roles, see Manage access.
You might also be able to get the required permissions through custom roles or other predefined roles.
If you want to grant newly created service accounts access to your project, you also need the Project IAM admin (roles/resourcemanager.projectIamAdmin) role.
Create a service account
When you create a service account, you must provide an alphanumeric ID (SA_NAME in the samples below), such as my-service-account. The ID must be between 6 and 30 characters, and can contain lowercase alphanumeric characters and dashes. After you create a service account, you cannot change its name.
The service account's name appears in the email address that is provisioned during creation, in the format SA_NAME@PROJECT_ID.iam.gserviceaccount.com.
Each service account also has a permanent, unique numeric ID, which is generated automatically.
You also provide the following information when you create a service account:
SA_DESCRIPTIONis an optional description for the service account.SA_DISPLAY_NAMEis a friendly name for the service account.PROJECT_IDis the ID of your Google Cloud project.
After you create a service account, you might need to wait for 60 seconds or more before you use the service account. This behavior occurs because read operations are eventually consistent; it can take time for the new service account to become visible.
Setup Microsoft Azure Storage
You can create a new or use an existing service principal in your Azure Active Directory tenant to use to authenticate with other services.
App registration
-
Navigate to the Azure portal.
-
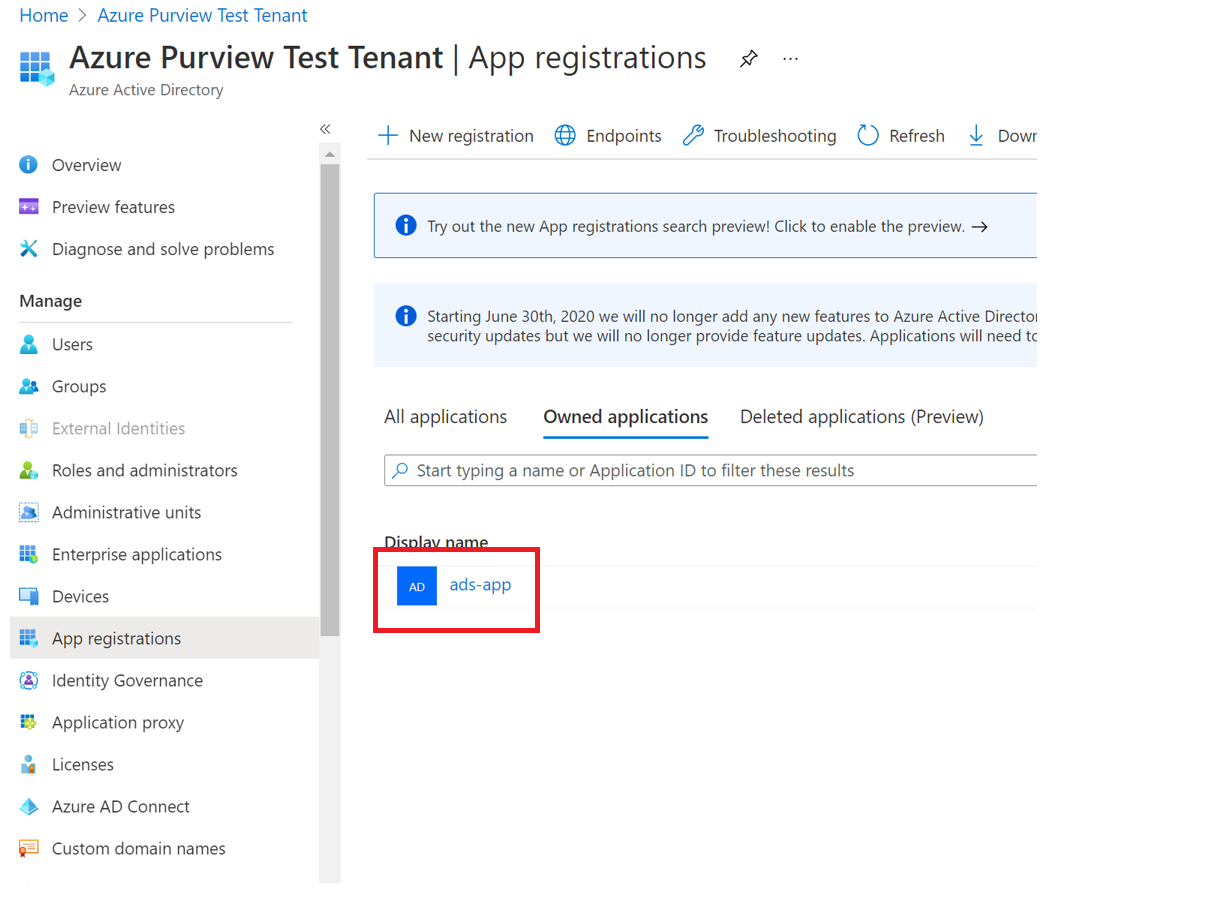
Select Azure Active Directory from the left-hand side menu.

-
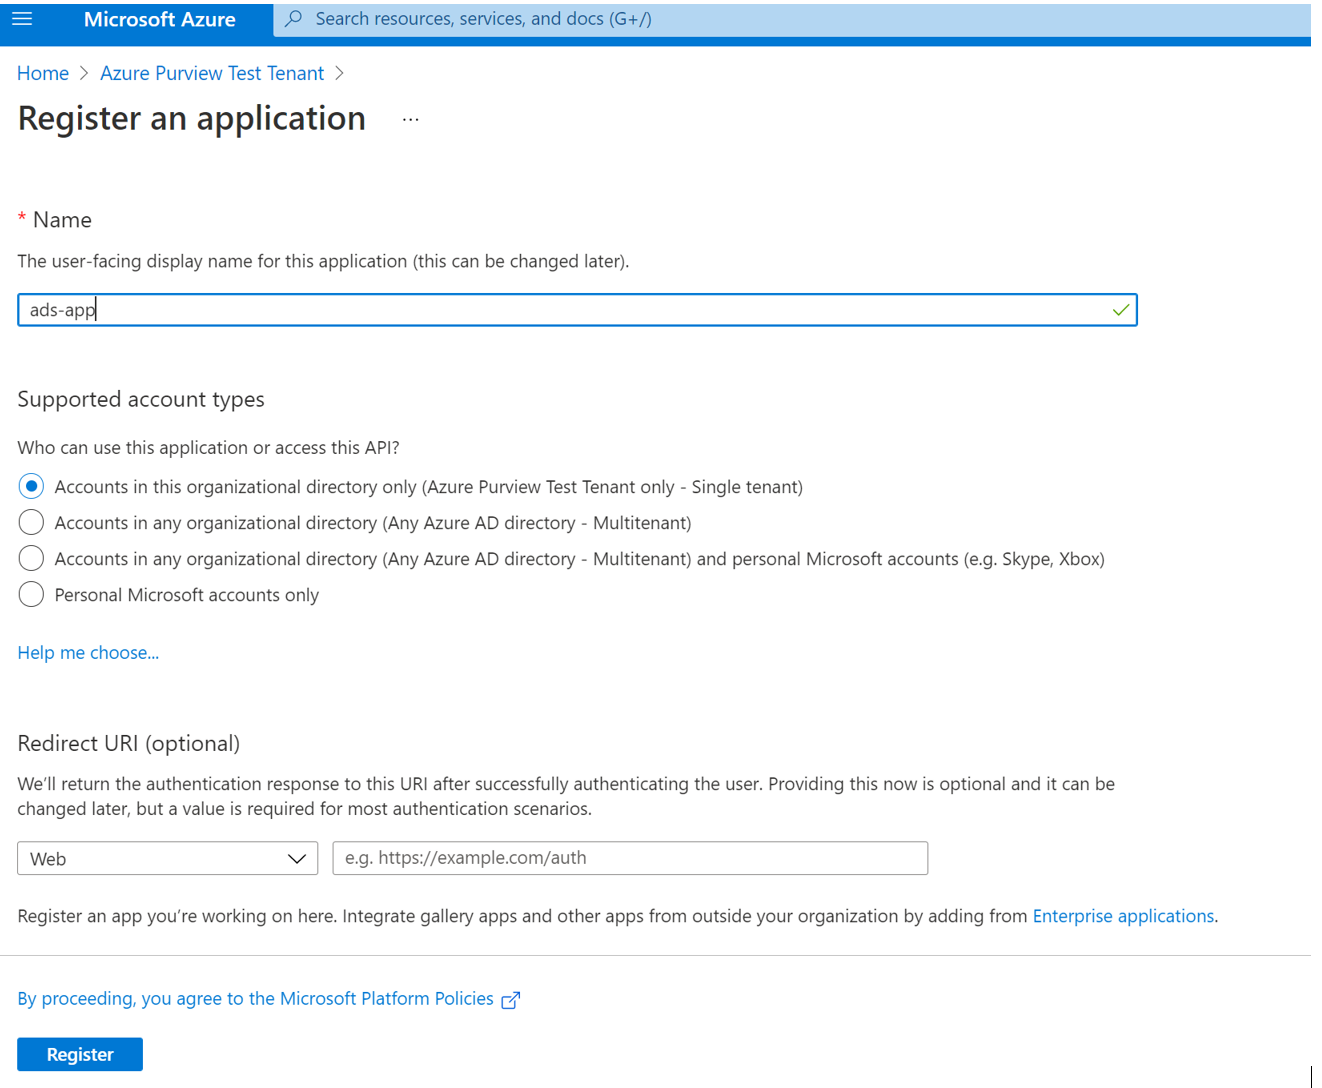
Select App registrations and + New registration.

-
Enter a name for the application (the service principal name).
-
Select Accounts in this organizational directory only.
-
For Redirect URI select Web and enter any URL you want. If you have an authentication endpoint for your organization you want to use, this is the place. Otherwise
https://example.com/authwill do. -
Then select Register.
-
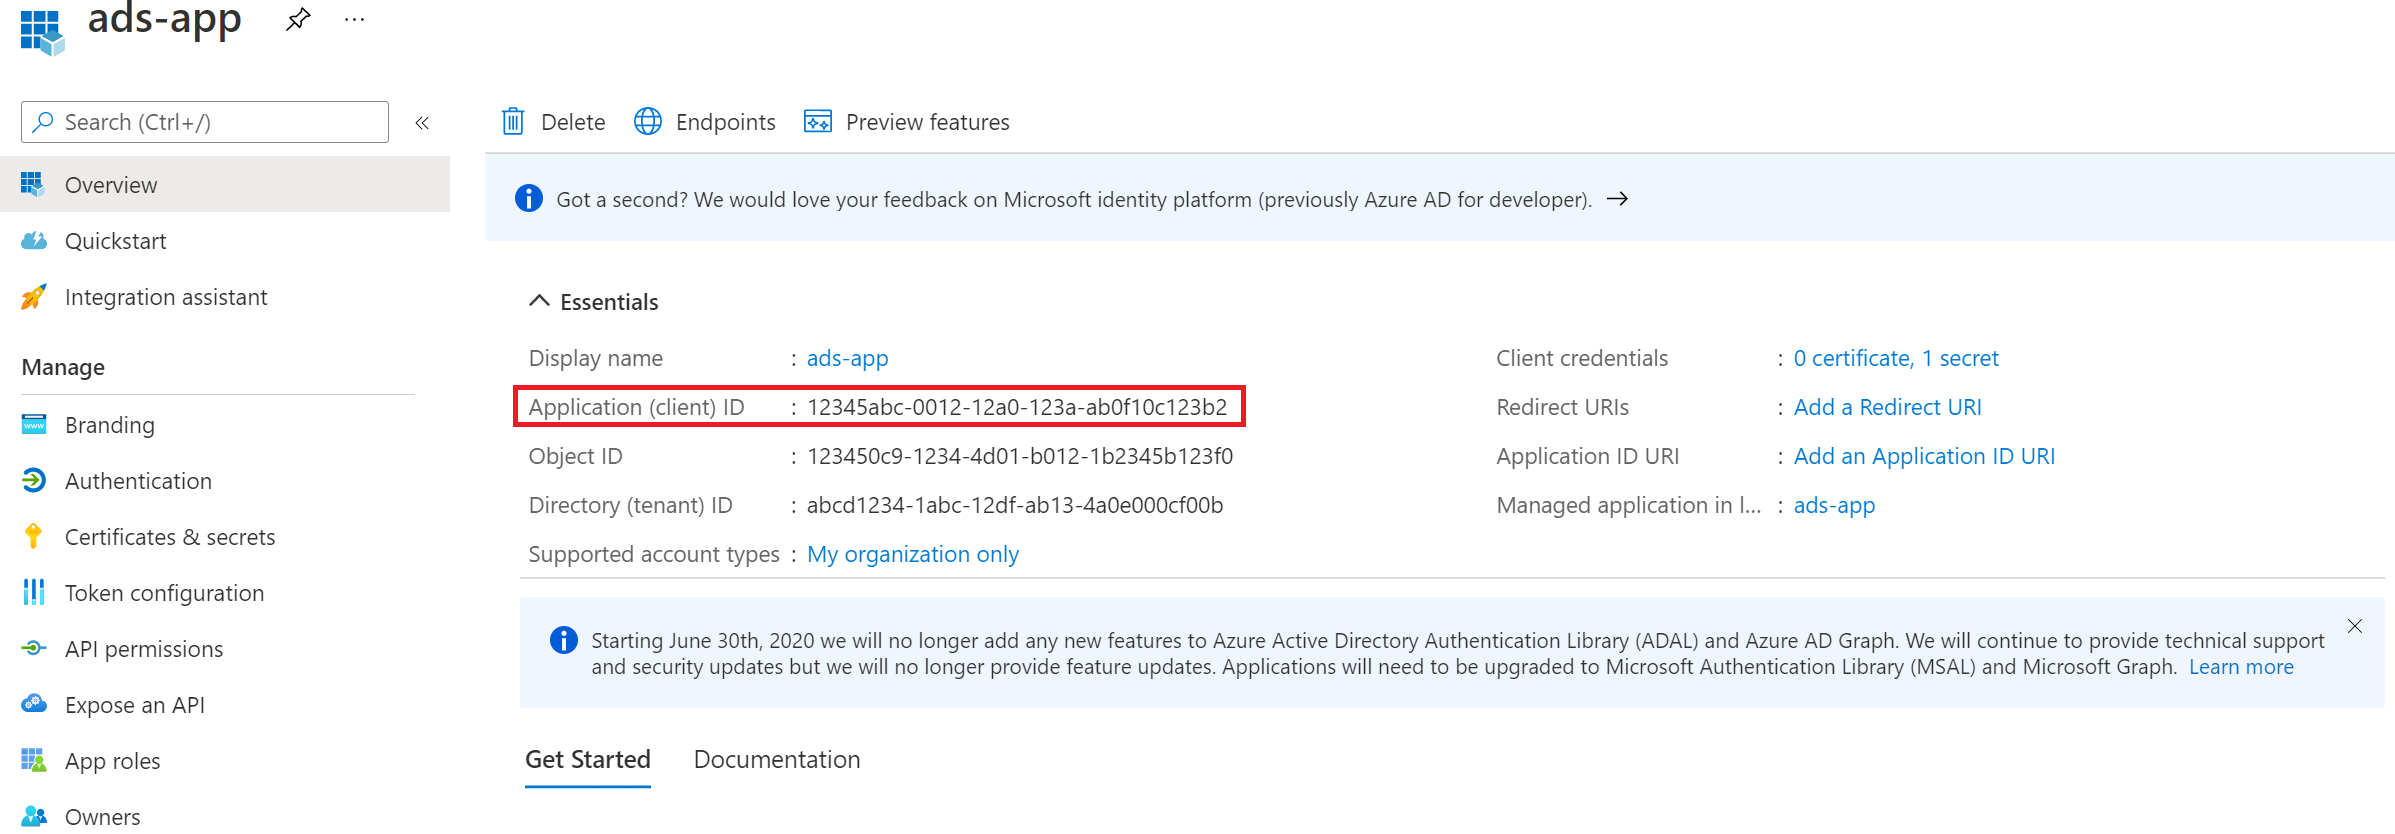
Copy the Application (client) ID value. We'll use this later to create a credential in Microsoft Purview.
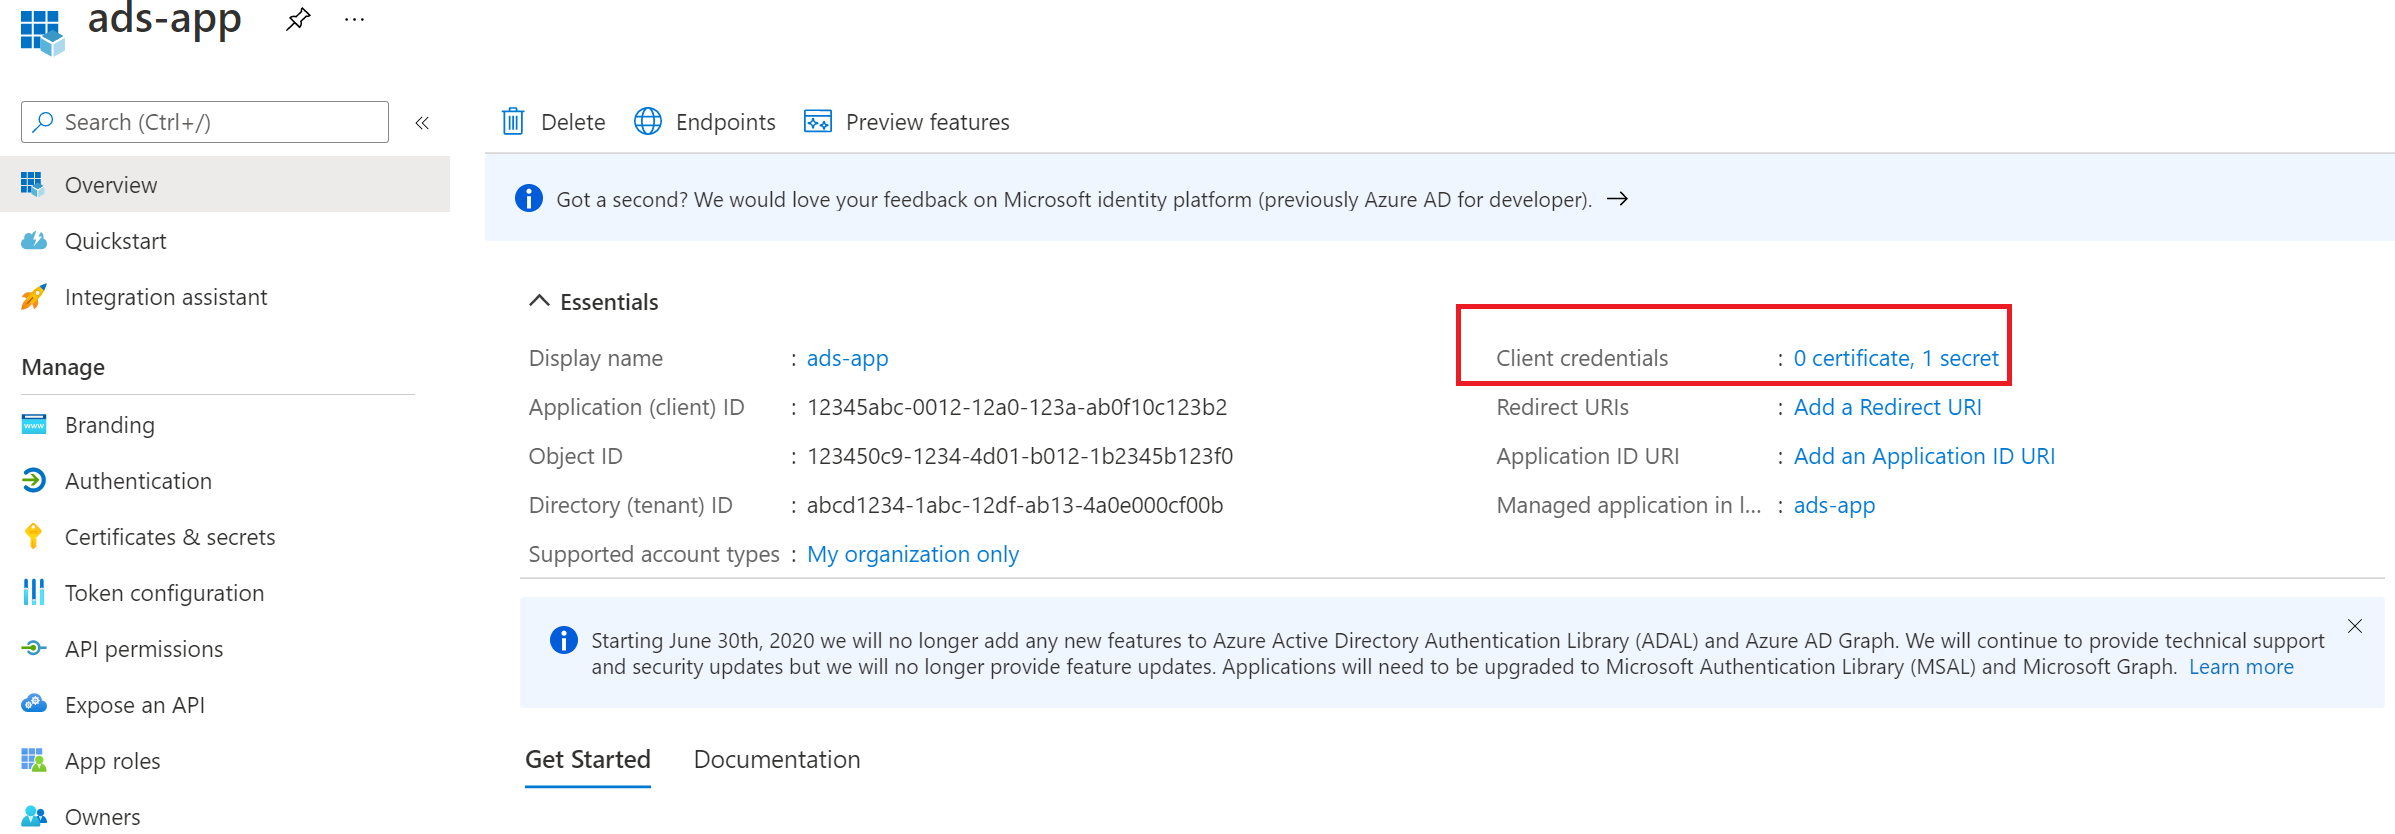
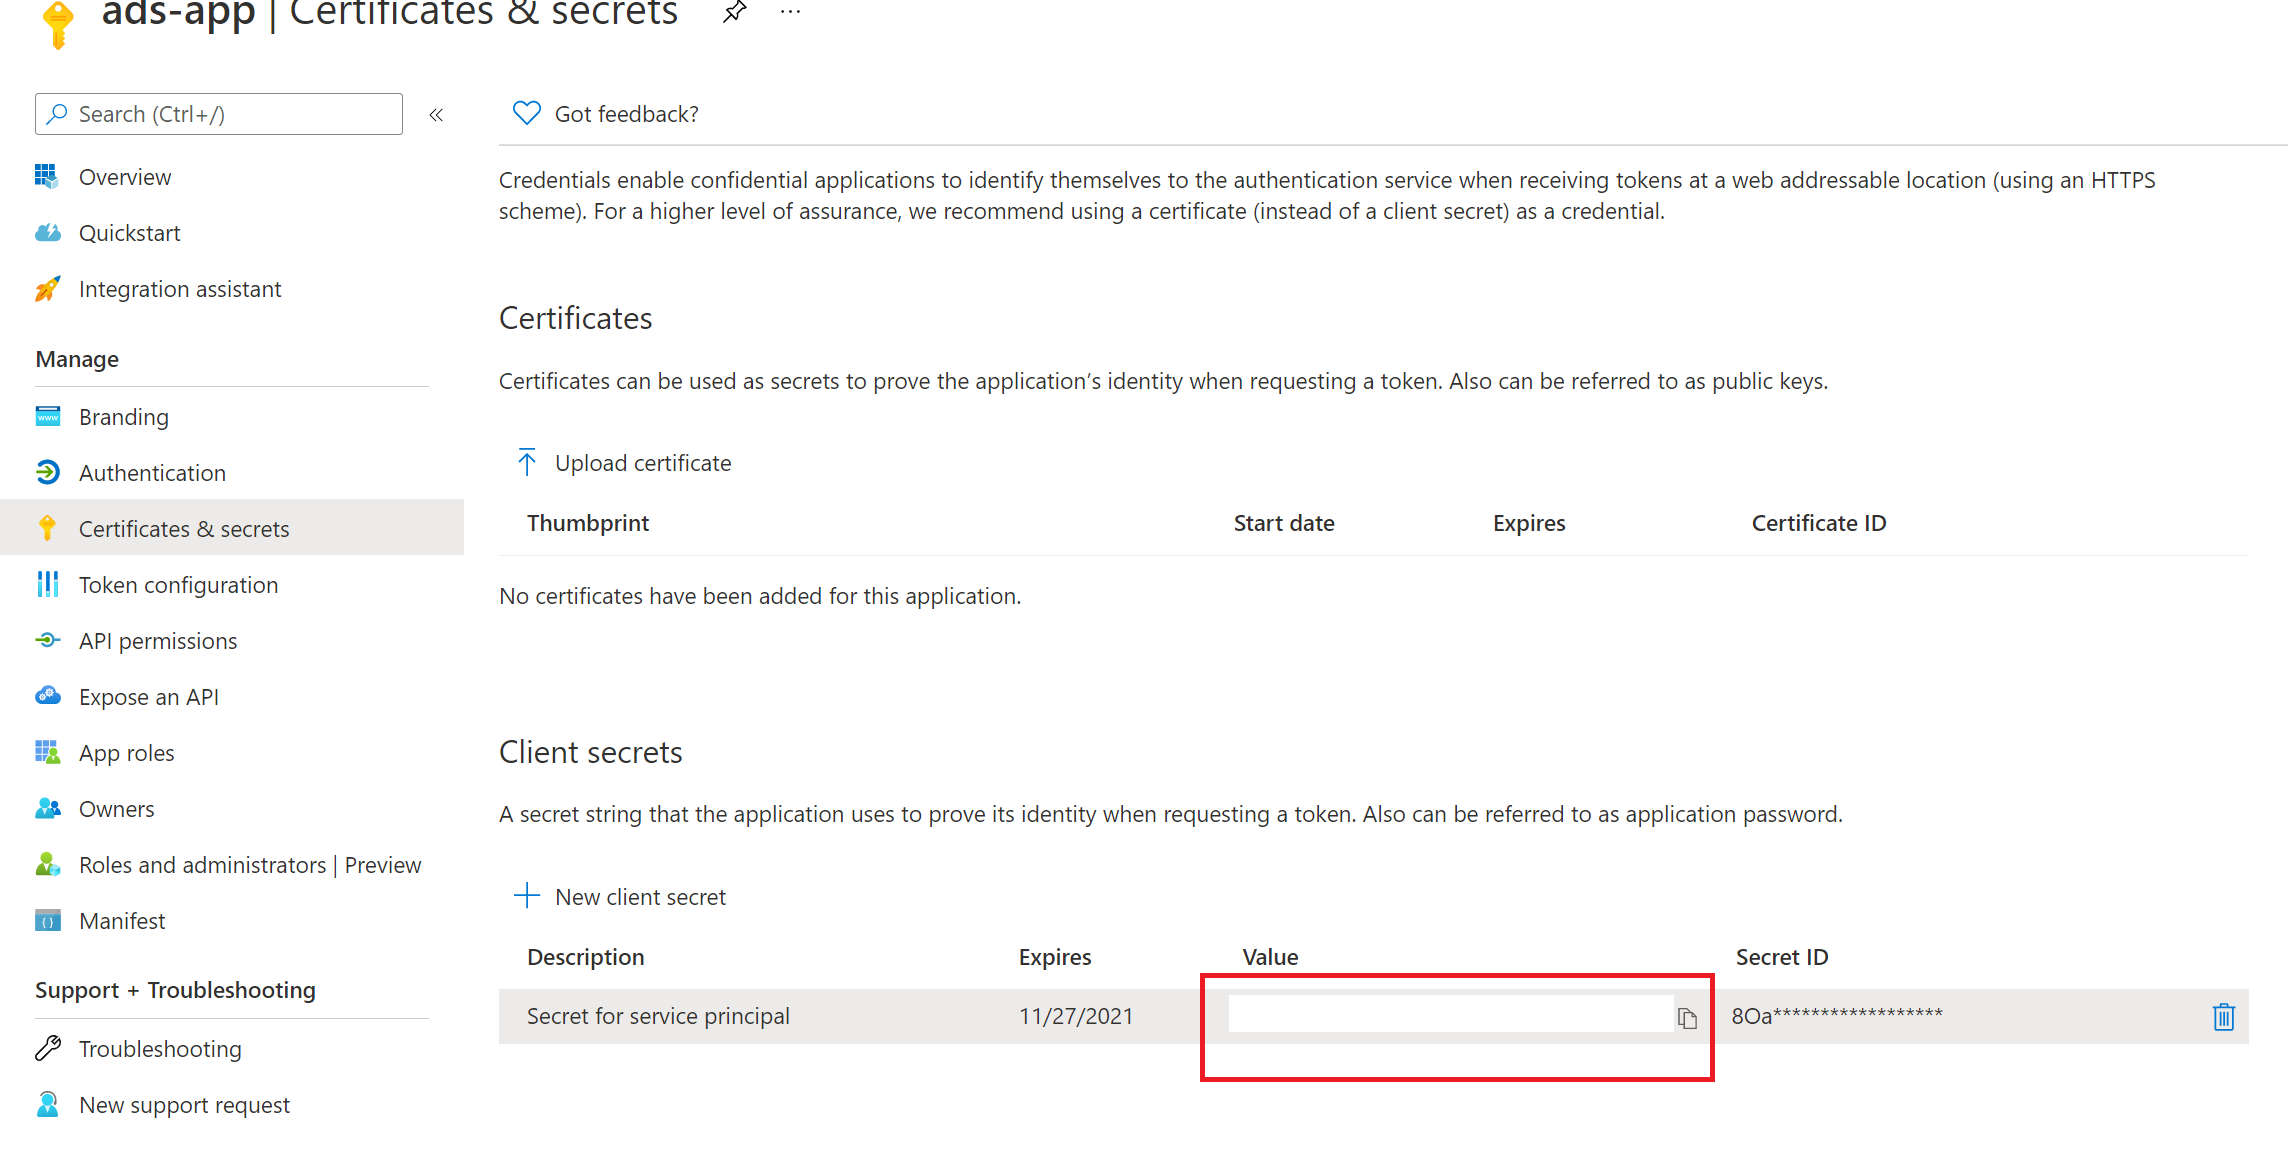
Adding a secret to the client credentials
-
Select the app from the App registrations.
-
Select Add a certificate or secret.
-
Select + New client secret under Client secrets.

-
Provide a Description and set the Expires for the secret.
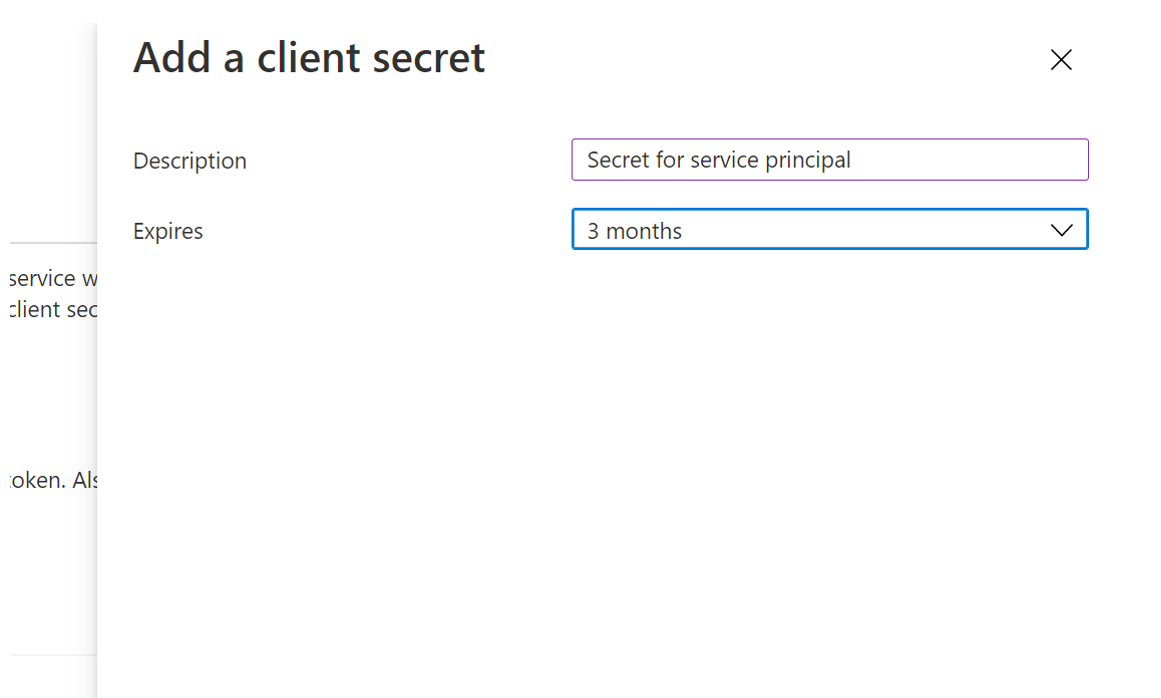
-
Copy the value of the Secret value. We'll use this later to create a secret in Azure Key Vault.
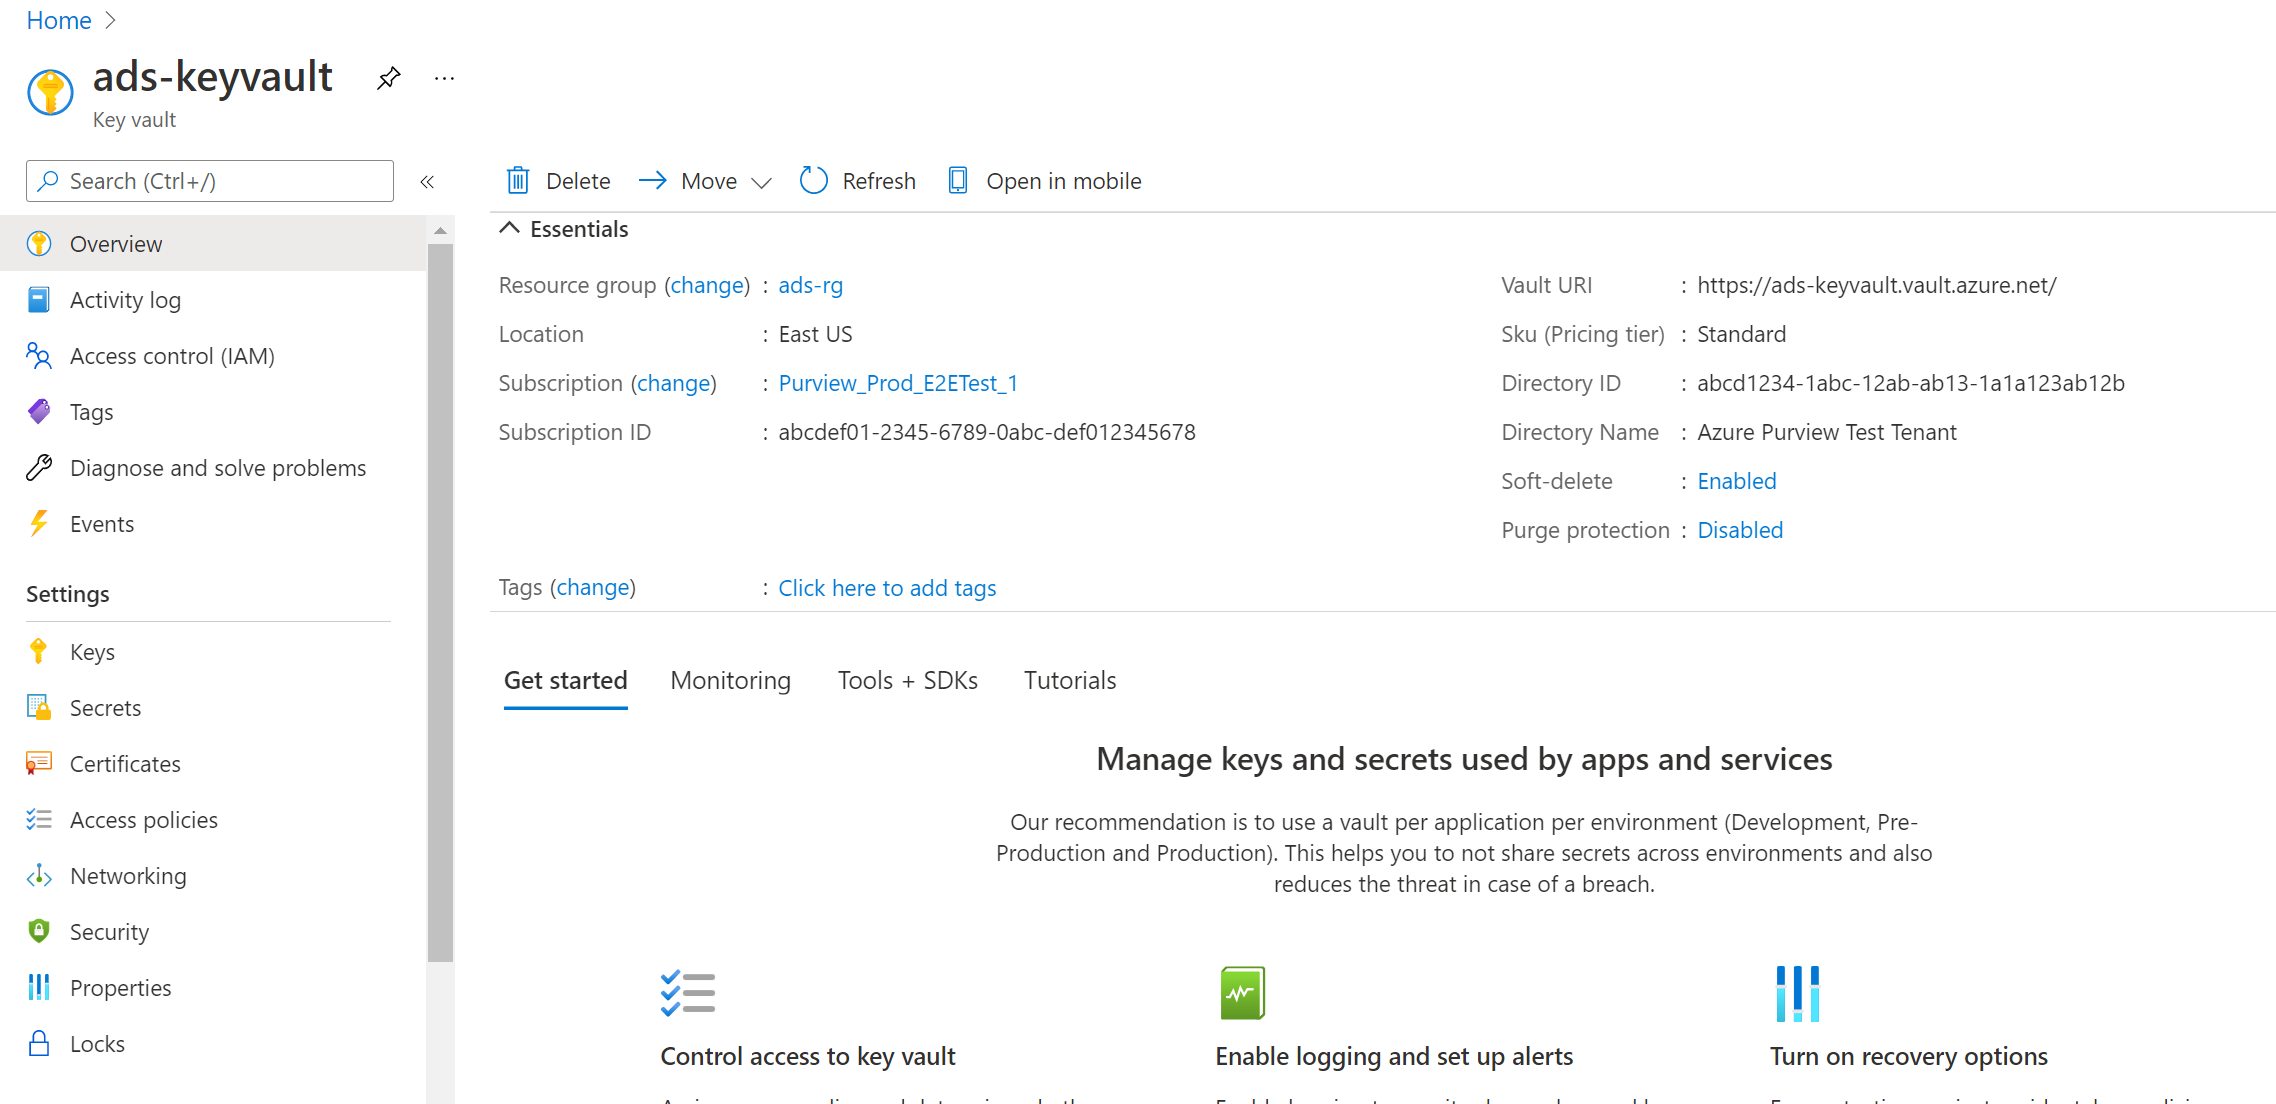
Adding the secret to your Azure Key Vault
To allow Microsoft Purview to use this service principal to authenticate with other services, you'll need to store this credential in Azure Key Vault.
- If you need an Azure Key vault, you can follow these steps to create one.
- To grant your Microsoft Purview account access to the Azure Key Vault, you can follow these steps.
-
Navigate to your Key vault.
-
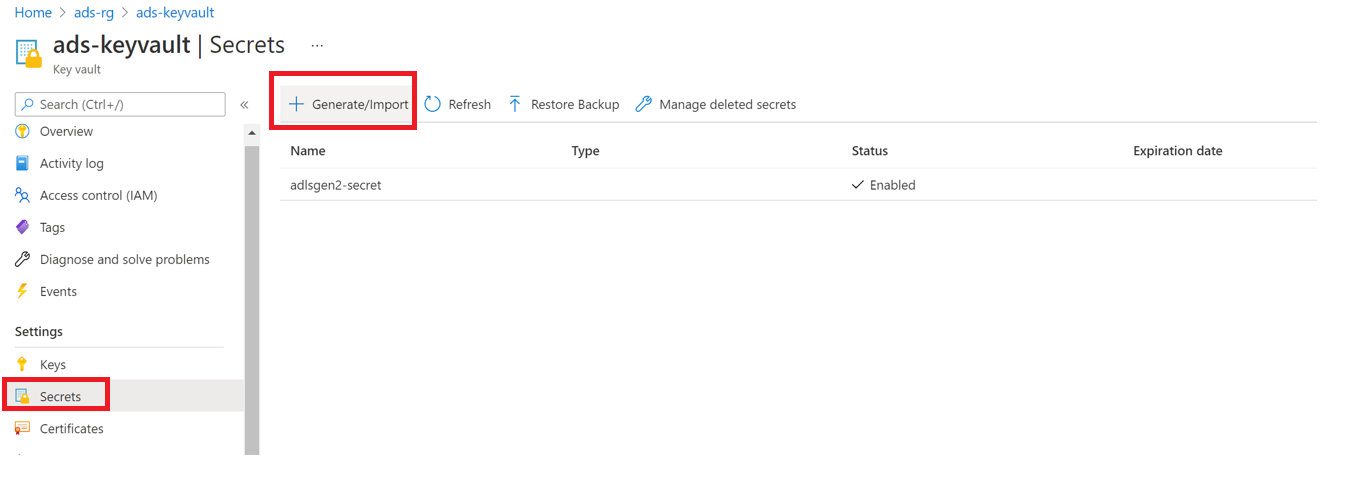
Select Settings --> Secrets --> + Generate/Import
-
Enter the Name of your choice, and save it to create a credential in Microsoft Purview.
-
Enter the Value as the Secret value from your Service Principal.
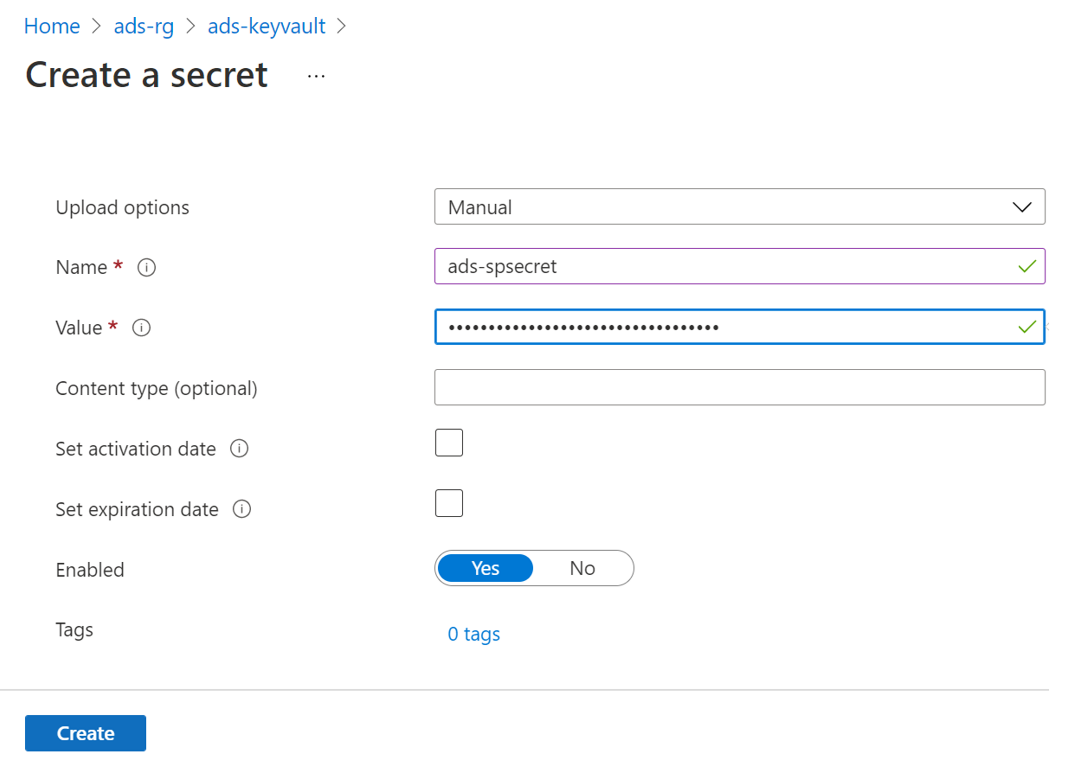
-
Select Create to complete.
Setup Wasabi Storage
Creating a Wasabi API Access Key Set
When using the S3 API, you must have an API access key set to exchange storage files between your application and the Wasabi service. This key set will consist of an Access Key and a Secret Key. Each key is a text string that you will cut/paste into your storage application.
You may create a Wasabi API Access Key Set for your root account by following the procedure below.
- Log into the Wasabi Console as the root user.
- Click on the Menu tab to show the full menu to the left side (Buckets/Policies/Access Keys/Groups/Roles/Users/Settings/Billing/Support)
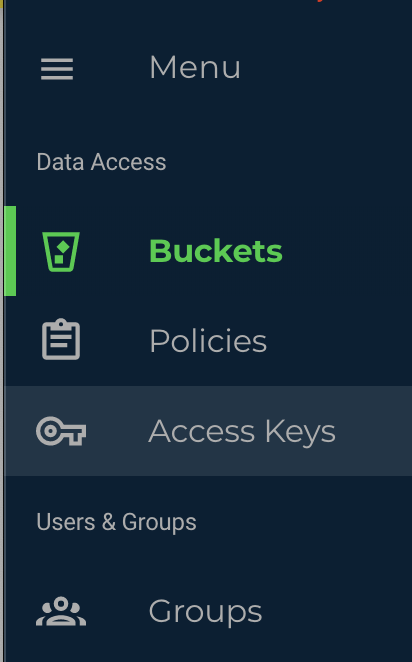
- Click on the Access Keys item
- Select the CREATE NEW ACCESS KEY button on the top right
You will get a pop-up, select whether to keys are for the root account or a sub-user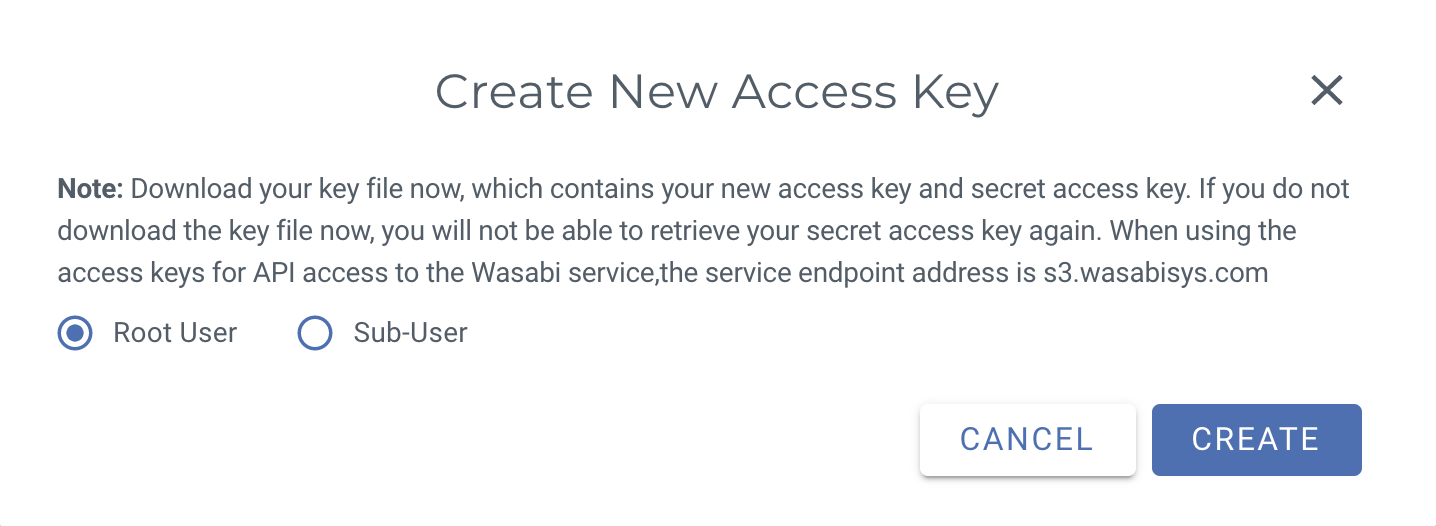
- Select the CREATE button, and then you will have successfully created the key pair
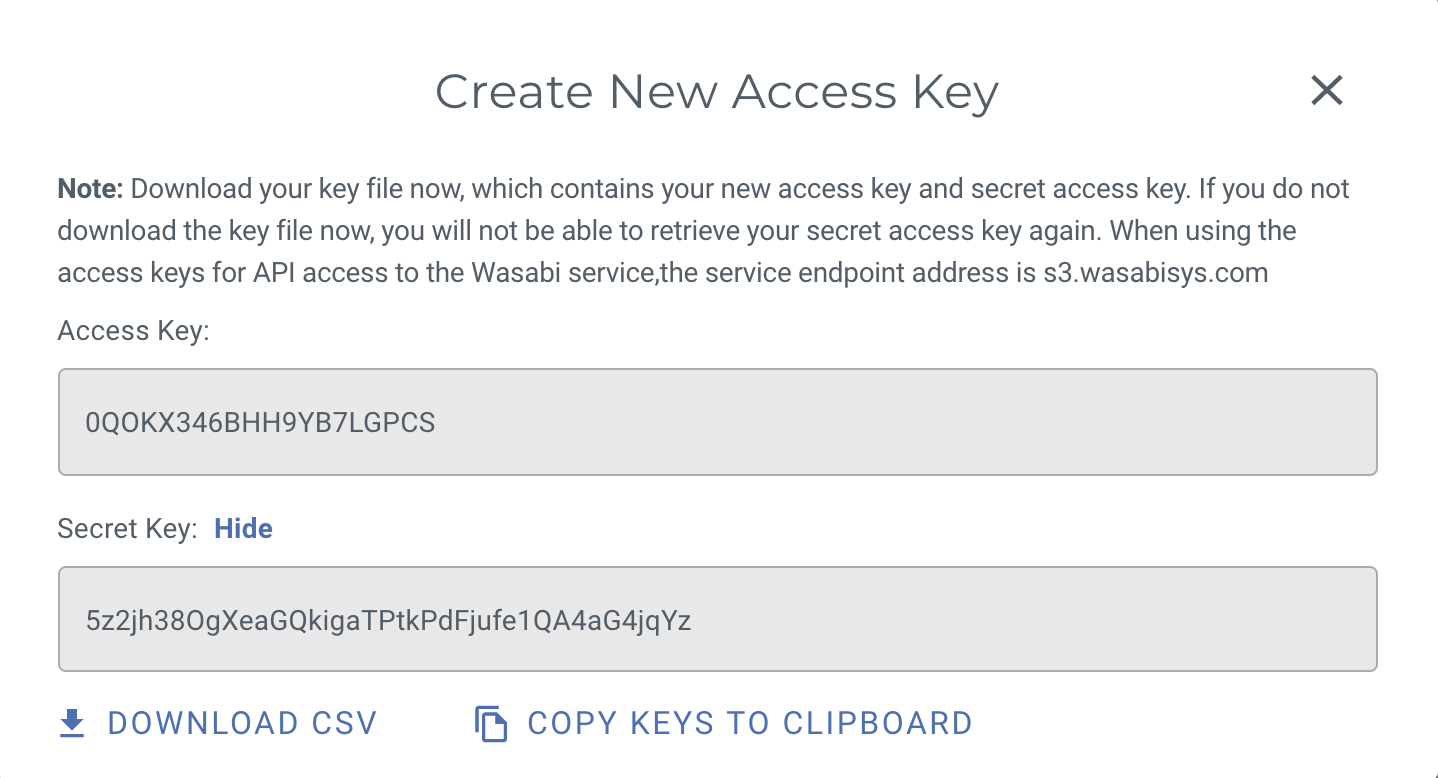
- BE SURE TO KEEP A COPY OF THESE KEYS. You may go back to see the Access Key, but the Secret Key cannot be obtained after the fact, so be sure you have a copy of this now. You can copy them down as a CSV file, you can copy them both to the clipboard, or you can display them on the screen and copy and paste them yourself, but be sure to keep a copy of them.
NOTE: There is a limit of TWO Access/Secret Keys per user, including the root user. if you lose one of these, you may have to delete it and add a new one in. Take care with these keys.
Now, when you have an application that requires and Access Key and Secret Key, you can use those. Remember that you probably want to make sub-users for this.
Setup S3 Compatible Storage
S3 Compatible Storage is a storage solution that allows access to and management of the data it stores over an S3 compliant interface.
Please reach out to your storage provider if they support S3 compatible storage. If they support then please ask them to how to generate AccessKey , Secret and Endpoint for API access. Please note that every S3 compatible storage provider has different interface to generate API access keys.
Comments
Article is closed for comments.